
My niece is going to her first overnight camp this week and they require that the girls wear culottes. According to my sister, culottes can run around $25 a pair. That's a bit much for some fabric and elastic, so she asked me to make her some. My niece got to pick out her favorite fabrics and we were off! After looking at the construction of a culotte, I realized that it is a pretty simple construction.
Some interesting facts about culottes- they are supposed to look like a skirt, but really are "baggy" shorts and they are to have an elastic band (no zippers or buttons).
My niece is a children's size 6, but you could easily make this smaller, larger, longer, etc. to fit the size of your child.
You'll need:
1 yard of fabric
22 inches of 1 inch elastic
basic sewing materials
First, I took a pair of her culottes and made my own pattern out of it. Here are the dimensions that I used:

Skirt/Short part. Place the long side (14 inches) on the fold of the fabric.
Basically you want to start out with a rectangle. Measure in 8 inches from the top and make a mark. Measure 6.5 inches down and make a mark. Now you are going to cut a "J" (this is the crotch). Bottom notch is similar. Measure 3 inches up from the bottom and make a mark and measure 5.5 inches from the left and make a mark. Cut an angle. This is part of the bottom of the culottes.

Waistband. You will want a total of two pieces.

You have a total of two pieces. This will be the skirt/short part.
Place the right side of the fabric together and, using a 1/4 inch seam, sew along the long side (14 inch) and the inseam (4.5 inch). You will want to serge or use a zig-zag stitch on the raw edges so it won't fray.

One part of the culotte done.

This is what it looks like when you turn it right side out.

Now, pin the two legs together and sew using a 1/4 inch seam- this will be the crotch part. Set these aside for now.

Onto the waistband. You should have two pieces.

Place right side together and sew along the short sides (6.5 inches) and create a tube.

Now we are going to create the tube for the elastic. Fold down 1.5 inches, and then fold the raw edge under another 1/4 inch to create a tube for the elastic.

Sew right on the edge of the bottom fold. Make sure to leave a space to thread your elastic through. Set this aside for now.

Now on to the pleats of the culotte part. I put three pleats onto each leg of the culotte. One at 2 inch, one at 6.5 inch and one at 11 inch. My pleats lines were marked at 1.25 inches apart.

You will want to overlap the third pleat on each culotte (front and back) so that it hides the shorts part of the culotte. This is the step that makes it look like a skirt. If you look at the picture above, I've put the pleat on the left side of the culotte over the crotch seam.

Now, I've placed the third pleat on the right side over the third pleat of the left side, so that you can't see the left side pleat anymore.

This is what it will look like after you pin it. (Looks like a total of 5 pleats, but really it is 6 because one pleat is hidden).

Now, make sure your waistband matches up to your culottes (you may need to adjust your pleat sizes) and then place your waistband over the culottes (right sides together), pin and sew together.

When you are done, it will look like this.

I topstich the waistband into place. It looks cleaner to me.

Now, time to thread your elastic into the waistband. Sew together elastic and then sew the opening shut.

On to the hem. Make this whatever size you need too. Mine ended up being 1/4 inch hem.

Finished!!

I made four culottes in a span of two days.

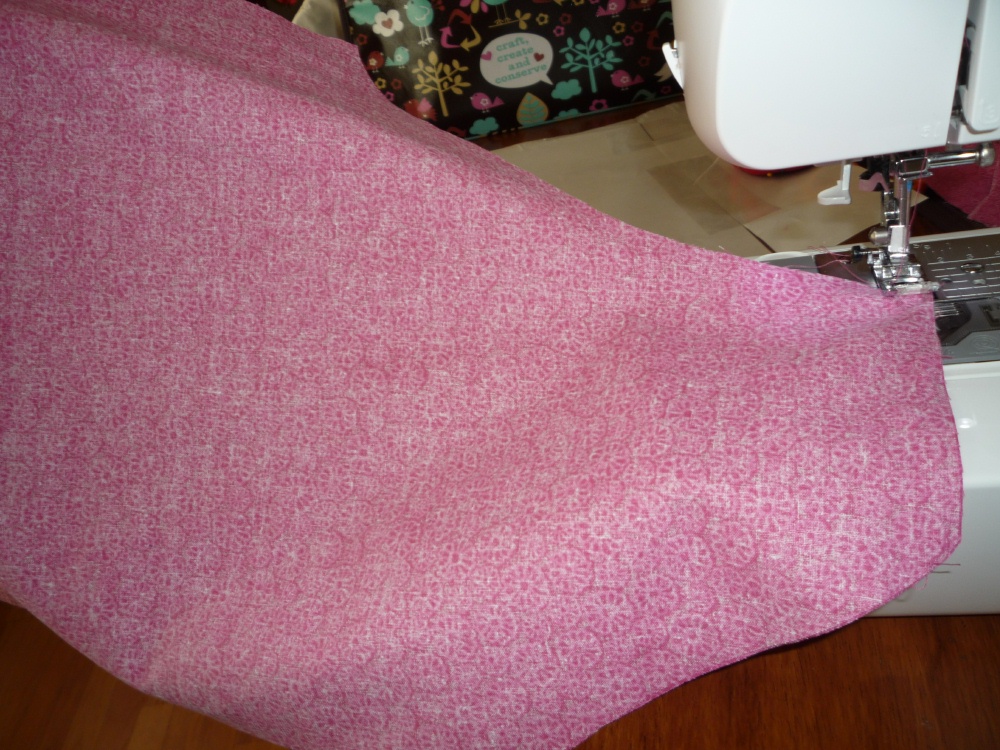
A good view of the shorts part.

See how it resembles a skirt when layed out.

That little cut out in the leg helps the hem stay all the same length and makes it look like a skirt. Without it, that piece hangs lower than the rest of the hem.
This is my first tutorial and I apologize in advance for anything that doesn't make sense. Please ask me any questions.


8 comments:
They all turned out perfect. The best part is that she LOVED them. It made her feel so special that: she got to pick out the fabric and that her Aunt Andrea made them. My kids believe you can sew anything and if anything is torn they ask me to take it to you:)- Thanks Again
These are great!! Culottes are a staple in our family and I'm always looking at any ideas to change them up a little. This was a great pattern and your first tutorial went really well!!! Thanks for sharing!
I am stuck. After I have the J (crotch) sewn together I don't know where the top is. The top I see is the two (4 1/2 inch) sections that are sewn shut. The bottoms appear to be sewn shut too. Help!!
I shall try your great tutorial for my kartwheeling little free spirit - thank you xxx
Could you possibly tell me what was the length measurement of the final product??
this is amazing and so easy to understand!:)
I had some made for my granddaughter and the pattern I looked at called for a cotton jersy material. It is too clingy. What fabric would you all recommend ? Hers need to be at least knee length for a church outing. Margo
your 2",6.5", and 11 " dimensions are taken from what side - the crotch or the side seam
Post a Comment